Effective crossing techniques are essential for midfielders, focusing on the angle, height, and placement of the ball. By mastering these elements, players can significantly improve their crossing accuracy and create valuable scoring opportunities during matches. Understanding how to manipulate these factors allows midfielders to deliver precise crosses that evade defenders and reach teammates in advantageous positions.
What are the key crossing techniques for midfielders?
Key crossing techniques for midfielders include understanding the angle, height, and placement of the ball. Mastering these elements can significantly enhance crossing accuracy and effectiveness, providing tactical advantages during gameplay.
Understanding the importance of angle in crossing
The angle of a cross is crucial as it determines how difficult it is for defenders to intercept and for attackers to connect with the ball. A well-angled cross can create opportunities for scoring by making it easier for teammates to position themselves for a shot.
Midfielders should aim for angles that allow the ball to travel into the danger zone, typically between the goalkeeper and the defenders. This often means crossing from the flanks at about 45 degrees to the goal line.
Practicing different angles can help midfielders find the right approach for various game situations. For example, a sharper angle may be necessary when crossing from deep positions, while a wider angle may work better closer to the penalty area.
Defining height and its impact on crossing effectiveness
The height of a cross influences its effectiveness in reaching intended targets. A low cross can be more challenging for defenders to clear, while a high cross may allow attackers to use their heading ability to score.
Midfielders should consider the positioning of their teammates when deciding on cross height. For instance, if there are taller attackers in the box, a higher cross may be beneficial, whereas a low, driven cross can exploit gaps in the defence.
In general, effective crosses tend to be delivered at a height that allows for optimal control and finishing. Midfielders can practice varying the height of their crosses to adapt to different attacking scenarios.
Exploring placement and its role in successful crosses
Placement refers to where the cross is directed, which is vital for maximizing scoring chances. A well-placed cross targets specific areas where attackers can easily convert the ball into a goal.
Midfielders should focus on delivering crosses to areas like the near post, far post, or the penalty spot, depending on the positioning of their teammates. Understanding the movement of attackers can help in making precise placements.
Effective placement can often be the difference between a successful cross and a wasted opportunity. Midfielders should practice reading the game to anticipate where their teammates will be and adjust their crosses accordingly.

How does angle affect crossing success?
The angle of a cross significantly influences its effectiveness in creating scoring opportunities. A well-angled cross can evade defenders and reach teammates in optimal positions, while poor angles can lead to turnovers or missed chances.
Optimal angles for different crossing scenarios
Different crossing scenarios require specific angles to maximize success. For instance, when crossing from the flanks, an angle between 30 to 45 degrees is generally most effective, allowing the ball to travel into the box without being easily intercepted. Conversely, when crossing from deeper positions, a flatter angle may be beneficial to reach a target quickly.
In fast-break situations, a low cross at around 10 to 20 degrees can catch defenders off guard, especially if a striker is making a run toward the near post. This angle can create quick scoring opportunities by bypassing defenders who are positioned to intercept higher crosses.
Visual examples of successful crosses often show players utilizing these angles effectively, emphasizing the importance of practice in replicating these scenarios during games.
Adjusting angle based on defensive positioning
Defensive positioning can greatly impact the angle needed for a successful cross. If defenders are tightly marking attackers, a sharper angle may be necessary to get the ball past the defenders and into the path of a teammate. This requires quick decision-making and awareness of both the ball’s trajectory and the defenders’ movements.
When defenders are positioned further back, a higher angle can be advantageous, allowing the ball to drop into the box where attackers can capitalize on the space. Midfielders should assess the defensive setup before making their crossing decision to ensure the angle maximizes their chances of success.
In real game scenarios, adjusting angles on the fly can make the difference between a successful assist and a turnover. Players should practice recognizing defensive setups and adapting their crossing technique accordingly.
Common mistakes related to crossing angles
One common mistake is failing to adjust the angle based on the position of defenders. Many midfielders may attempt to deliver a cross at a standard angle regardless of the defensive pressure, leading to easy interceptions. Understanding when to alter the angle is crucial for effective crossing.
Another frequent error is over-hitting the cross, which can occur when the angle is too steep or the ball is struck with excessive power. This often results in the ball sailing over the intended target, wasting a scoring opportunity. A balanced approach to power and angle is essential.
- Neglecting to scan the field before crossing.
- Using a flat cross when a higher angle is needed.
- Not practicing various angles during training sessions.
By being aware of these common pitfalls, midfielders can improve their crossing success and contribute more effectively to their team’s offensive play.
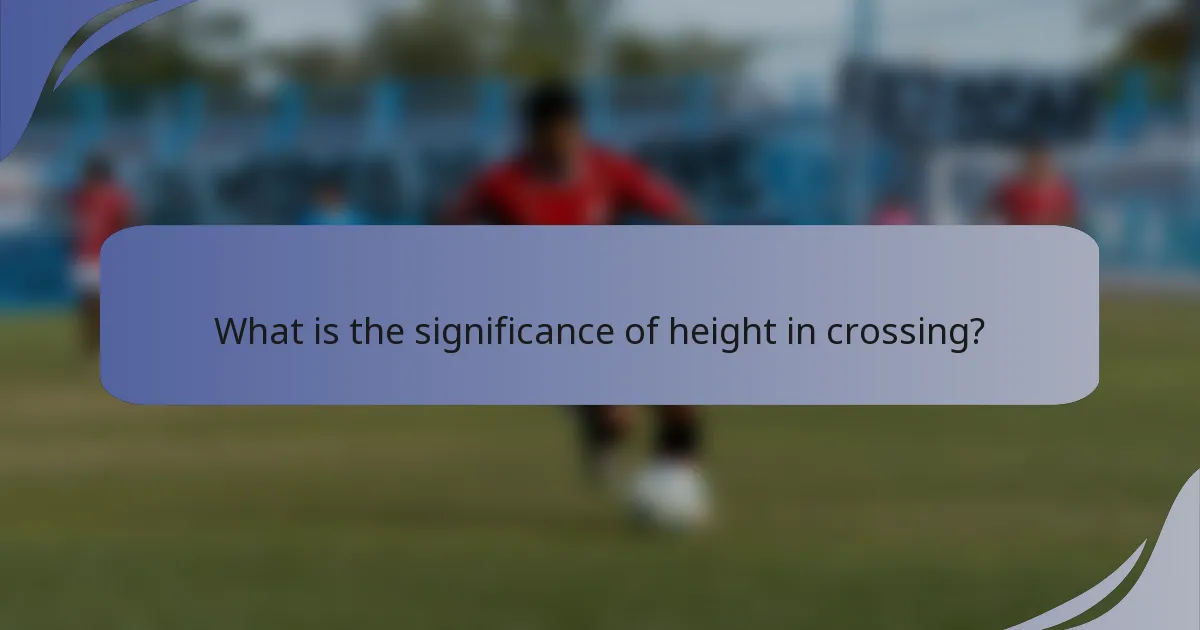
What is the significance of height in crossing?
Height plays a crucial role in crossing as it determines the effectiveness of the delivery to the target player. A well-executed cross can create scoring opportunities, but the height must be tailored to the target’s attributes and the game situation.
Choosing the right height for various target players
When crossing, understanding the height of your target player is essential. Taller players typically benefit from higher crosses, allowing them to use their aerial advantage to head the ball effectively. Conversely, shorter players may require lower, more precise deliveries that they can control without jumping excessively.
For example, if you are crossing to a forward who stands around 6 feet tall, aim for a cross that is at least 2 to 3 feet above their head to give them a chance to connect. In contrast, a player who is 5 feet 6 inches might perform better with a cross that is waist-high, allowing for easier reception and control.
Additionally, consider the playing style of your target. A player known for their heading ability may thrive on high crosses, while a skilled dribbler might prefer lower, more direct passes to maintain possession.
Height adjustments based on game context
Game context significantly influences the height of your crosses. Factors such as the opponent’s defensive setup, weather conditions, and match urgency can dictate adjustments. For instance, against a team with tall defenders, it may be beneficial to lower the height of your crosses to avoid easy clearances.
In adverse weather conditions, such as strong winds or rain, adjusting the height can help maintain accuracy. Lower crosses may be more effective in these situations, as they are less affected by wind and can stay closer to the ground for better control.
Moreover, during critical moments of a match, such as late in a game when a goal is needed, consider varying your crossing height to catch the defence off guard. Mixing high and low crosses can create confusion and increase the chances of finding an open player.
Techniques to control cross height
Controlling the height of a cross involves several techniques. One effective method is adjusting your foot position and angle when striking the ball. For higher crosses, strike the ball with your laces while leaning back slightly. For lower crosses, strike with the inside of your foot and maintain a forward lean.
Another technique is to vary your approach speed. A slower approach can help in delivering a more controlled, precise cross, while a faster approach can generate more power for higher crosses. Practice different approaches to find the right balance for your style.
Lastly, using visual cues from your target can aid in determining the appropriate height. Observe their positioning and adjust your cross accordingly. Regular practice with different target heights will enhance your ability to deliver effective crosses in various game situations.

How to ensure proper placement in crosses?
Proper placement in crosses is crucial for maximizing scoring opportunities. It involves understanding target zones, adjusting to defensive setups, and executing with precision to deliver the ball where it can be most effective.
Identifying target zones for effective placement
Target zones are specific areas within the penalty box where crosses can lead to higher chances of scoring. Midfielders should aim for zones that are less defended and where teammates can make a play. Common target zones include the near post, far post, and the centre of the box.
To identify these zones, players must read the game situation, considering the positions of both teammates and defenders. For example, if a striker is making a run towards the near post, a cross aimed at that area can create a goal-scoring opportunity.
Additionally, understanding the goalkeeper’s positioning can help in determining the best target zone. If the keeper is positioned towards one side, crossing to the opposite side may yield better results.
Placement strategies against different defenses
Adapting crossing placement based on the defensive setup is essential for success. Against a compact defence, low, driven crosses can be effective as they can bypass defenders and reach the intended target quickly.
In contrast, when facing a more spread-out defence, higher crosses that allow attackers to jump and head the ball may be more advantageous. This strategy can exploit the height advantage of certain players.
Moreover, varying the angle of the cross can confuse defenders. For instance, a cross from a wider position can stretch the defence, creating gaps for teammates to exploit. Understanding these dynamics helps in making informed decisions during gameplay.
Practicing placement through drills
Effective drills can significantly improve crossing placement. One useful drill involves setting up cones in target zones within the penalty area and practicing crosses aimed at those cones. This helps in developing accuracy and understanding the required foot positioning.
Another drill is to practice crossing under pressure. Have a defender challenge the midfielder while they attempt to deliver a cross. This simulates game conditions and helps players learn to adapt their placement based on defensive pressure.
Incorporating feedback from coaches or using video analysis can further enhance learning. Players should focus on their body positioning, angle of approach, and follow-through to ensure they are maximizing both accuracy and power in their crosses.

What drills can improve crossing techniques?
Improving crossing techniques involves focused drills that enhance angle, height, and placement. These drills help midfielders develop the necessary skills to deliver accurate and effective crosses during matches.
Drills focusing on angle adjustment
Angle adjustment drills are essential for teaching midfielders how to create optimal crossing angles. One effective drill involves positioning cones at various angles around the penalty area. Players practice running to each cone and delivering crosses from those positions, adjusting their body orientation to find the best angle for each cross.
Another drill can be conducted with a partner. One player stands at the edge of the penalty area while the other moves around to simulate defensive pressure. The crossing player must adjust their angle based on the partner’s position, ensuring they can deliver the ball accurately under varying circumstances.
Exercises to enhance height control
Height control exercises focus on teaching players how to deliver crosses at the right height for their teammates. A common drill involves using a rebounder or wall. Players practice striking the ball at different heights, aiming for specific targets on the rebounder to simulate the varying heights needed for different crossing situations.
Additionally, players can practice with a partner who acts as a target. The target player can call out the desired height for the cross, allowing the crossing player to adjust their technique accordingly. This helps develop a feel for the ball and improves consistency in height control.
Placement drills for midfielders
Placement drills emphasize accuracy in delivering the ball to specific areas. One effective drill involves setting up targets within the penalty area, such as cones or small goals. Midfielders take turns crossing the ball, aiming to hit the targets, which reinforces the importance of precision in placement.
Another useful exercise is to simulate game scenarios where players must deliver crosses under pressure. This can be done by incorporating defenders who challenge the crossing player, forcing them to focus on both placement and timing. Practicing in these realistic conditions helps players adapt their crossing techniques to match situations they will face in actual games.